Unleashing the Power of AGSL in Android Compose: Build Custom GPU Shaders Without OpenGL
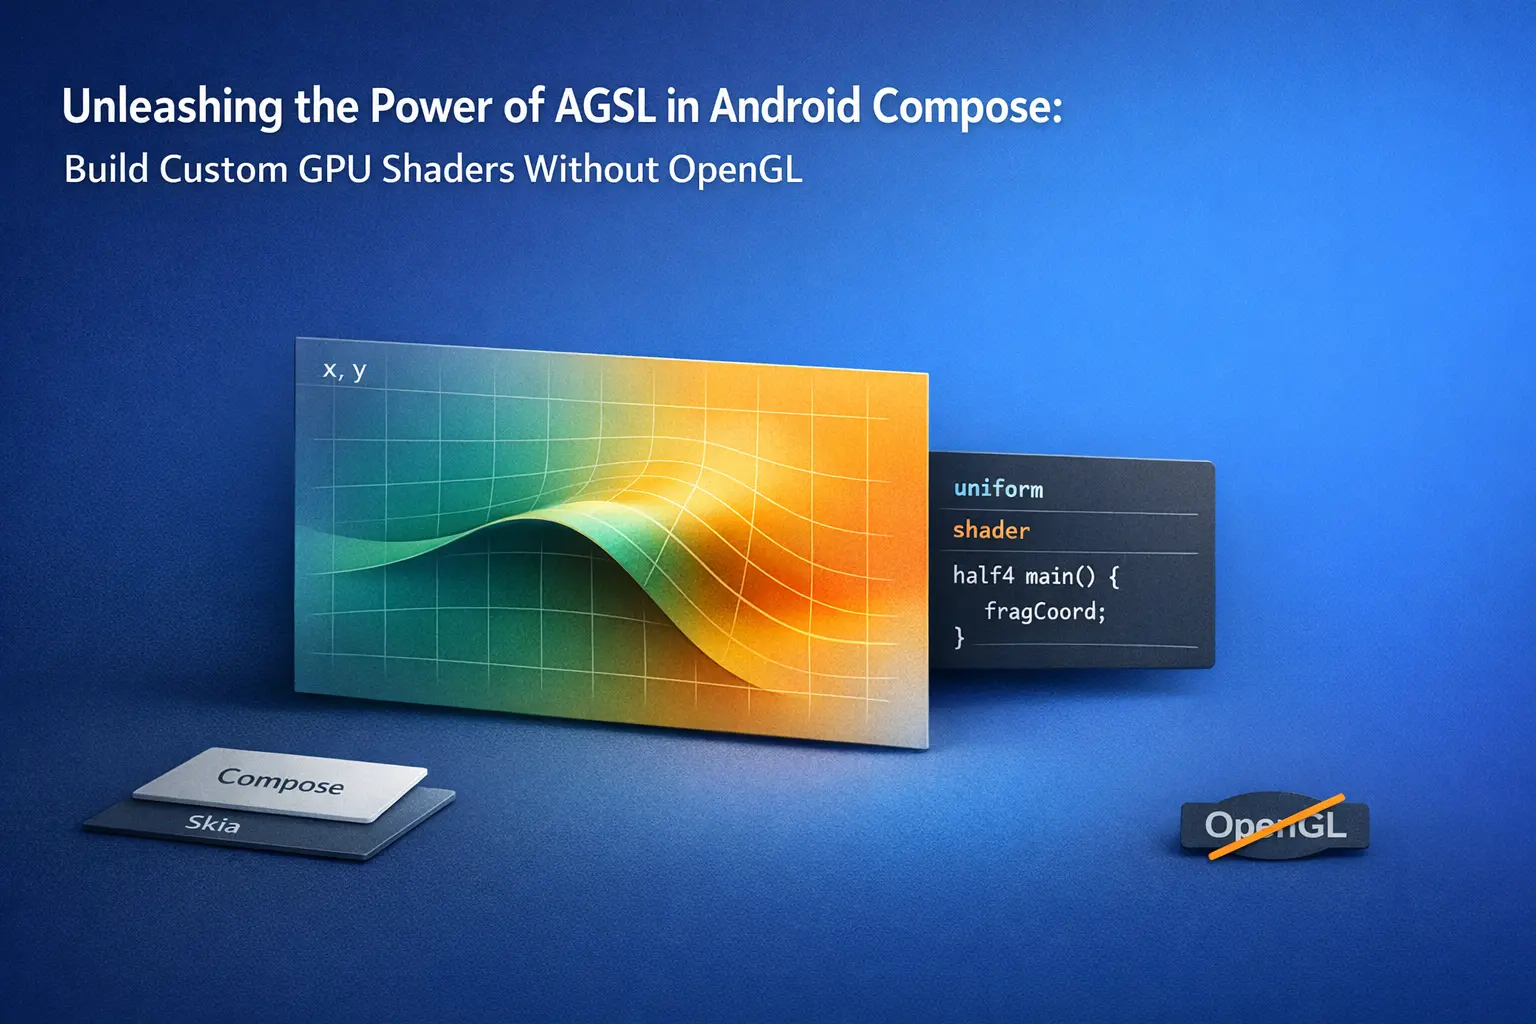
Unleashing the Power of AGSL in Android Compose: Build Custom GPU Shaders Without OpenGL
“The best UI effects don’t just look good — they feel alive.”
Evolution of Graphics in Android
2008 – Early Android (CPU Era)
-
Rendering was CPU-bound using Canvas API.
-
Developers used the basic Canvas API for 2D graphics.
-
Heavy UIs often stuttered due to a lack of GPU acceleration.
2011 – Android 3.0 (Honeycomb)
-
GPU hardware acceleration introduced.
-
Most drawing operations for Views shifted to the GPU.
-
Smoother animations and transitions became possible, but effects were still limited.
2010s – OpenGL ES Becomes Mainstream
-
Enabled custom shaders and 3D rendering.
-
Games and graphics-heavy apps relied on it.
-
Steep learning curve and lots of native code/boilerplate for simple UI effects.
2011 – RenderScript
-
Aimed at compute-intensive and image-processing tasks.
-
Easier than OpenGL for some GPU workloads.
-
Adoption was low, and it was deprecated in API 31 (Android 12).
2016 – Vulkan
-
A modern, low-level graphics API giving developers more control.
-
Great for games and high-performance graphics.
-
Too complex for everyday UI development.
2020 – Jetpack Compose
-
Declarative UI framework powered by Skia (2D graphics engine).
-
GPU-backed rendering made animations and graphics smoother.
-
Opened doors to direct shader integration.
2022 – Android 13 (AGSL)
-
A simplified shading language inspired by GLSL.
-
Runs inside Skia, Android’s graphics engine.
-
Designed for UI-level effects without OpenGL/Vulkan complexity.
-
Fits perfectly into Jetpack Compose. Now that we’ve seen how Android’s graphics pipeline has evolved, let’s dive into AGSL — the future of Android UI graphics.
What is AGSL?
Introduced in Android 13 (API level 33), AGSL is a language inspired by GLSL (OpenGL Shading Language) but simplified and tailored for use directly inside Android’s rendering pipeline (via Skia).
Instead of writing a verbose C++/OpenGL boilerplate, you write a few lines of shader code and attach it to a View, ImageView, or even a Jetpack Compose Composable. AGSL lets you:
- Apply custom visual effects to any view
- Use the GPU for rendering-intensive tasks
- Animate visuals using Kotlin + Compose
- Avoid OpenGL entirely
How It Works
AGSL shaders are usually fragment shaders — they operate on each pixel (fragment) of the rendered content. They read an input texture (your image or layout) and return a new color.
The flow looks like this:
- Write an AGSL shader (GLSL-style code).
- Load it using
RuntimeShader. - Apply it via
RenderEffect.createRuntimeShaderEffect(). - Optionally animate it using Kotlin or Compose state.
Key Benefits of Using AGSL with Jetpack Compose
- Create Dynamic Visual Effects
Bring your UI to life with rich visual effects like animated gradients, ripples, distortions, and more — all powered by custom shaders.
- GPU-Accelerated Performance
AGSL runs directly on the GPU, delivering smooth and efficient rendering even for complex or animated visuals.
- Seamless Compose Integration
AGSL fits naturally into Jetpack Compose’s declarative UI model, making it easy to build modular, reusable, and reactive shader-based components.
- Elevate the User Experience
Stand out with high-quality, custom visual effects that add polish, interactivity, and a modern feel to your app’s design.
Why Care About Shaders in Android?
If you’ve ever marveled at ripple effects in water, shimmering glows, or real-time distortions in graphics apps, you’ve seen shaders in action.
Shaders are programs that run on the GPU, manipulating pixels to create incredibly dynamic, interactive, and performant visuals. Traditionally, using shaders on Android meant diving into OpenGL or Vulkan — powerful, but overkill for typical UI work.
This is where AGSL (Android Graphics Shading Language) comes in.
Demos:
Let’s start with a simple example and gradually build up, exploring how AGSL works and transforms a traditional UI into a visually stunning one.
- Change Colors of an ImageView
We’ll begin with a classic use case: modifying the color of a particular channel in an image.
Generic Steps
- Define a shader with a uniform shader image as input.
- Manipulate pixel channels (e.g., increase red, dim green/blue).
- Load the shader with RuntimeShader.
- Apply it using createRuntimeShaderEffect in Compose.
- Render the modified image on screen.
Shader Code
@Language("AGSL")
val invertColorShader = """
uniform shader image;

half4 main(float2 fragCoord) {
    half4 color = image.eval(fragCoord);
    color.r = min(color.r + 0.2, 1.0);
    color.g *= 0.7;
    color.b *= 0.7;
    return color;
}
""".trimIndent()
Let’s break down the code
- uniform shader input;
- This line defines a shader input (like a texture or an image) that we want to apply our effect on.
- Think of this as the source image. We’ll manipulate its pixels in the main() function.
- half4 main(float2 fragCoord)
- This is the entry point of the shader, just like main() in any programming language. It gets called for every pixel fragment (or coordinate) on the screen.
- float2 fragCoord: The coordinate of the current pixel.
- half4: A vector representing the pixel color in RGBA format, where each component (r, g, b, a) is a floating point number between 0 and 1.
- half4 color = input.eval(fragCoord);
- Here, we’re sampling the original image at the current pixel coordinate.
- We now have the original color of this pixel stored in the color variable.
- color.r = min(color.r + 0.2, 1.0);
- We boost the red channel by adding 0.2 to it. But colors in shaders should always remain between 0.0 and 1.0, so we use min() to ensure it doesn’t overflow.
- color.g = color.g * 0.7;
- color.b = color.b * 0.7;
- We dim the green and blue channels by multiplying them by 0.7.
Now this is the shader part, but how does this shader work with compose?
Compose Integration
val shader = RuntimeShader(invertColorShader)

Image(
    bitmap = photo.asImageBitmap(),
    modifier = Modifier.graphicsLayer {
        renderEffect = createRuntimeShaderEffect(shader, "image").asComposeRenderEffect()
    }
)
Explanation
- val shader = RuntimeShader(invertColorShader) This line creates a RuntimeShader instance in Android using a string of AGSL shader code. It represents a fragment shader, meaning it operates on pixels and returns a color.
- This is an Android function (from the RenderEffect API) that connects your RuntimeShader to the rendering pipeline.
- The second argument (“image”) is the uniform name that matches the name used in your AGSL shader.
- “image” here must match the name you used in the AGSL shader’s uniform shader.
- This tells Android: “Use this shader and apply it to the input called ‘image’”.
If you don’t know how to use compose, don’t worry, you can visit the compose developer guide, Learn compose.
And boom, your ImageView now changes all its colors, running purely on the GPU. This is the power of AGSL.

Tweak in red channel
Before AGSL, developers had to rely on either ColorMatrix or OpenGL for such effects, which were either limited or too heavy for UI work. With AGSL, the same is achieved in a lightweight, GPU-accelerated, and Compose-friendly way. Let’s see the difference:
Before vs With AGSL
Without AGSL (Before Android 13)
- Tech stack: ColorMatrixColorFilter with Paint on Canvas or custom OpenGL ES shaders.
- Steps:
- Load bitmap into Canvas.
- Create a Paint object with ColorMatrixColorFilter.
- Apply transformations (adjust red, green, and blue channels).
- Draw the bitmap again with the filter applied.
- Limitations:
- Only supported linear channel adjustments (no custom effects).
- No GPU acceleration for complex effects.
- OpenGL alternative required boilerplate (GLSurfaceView, shader compilation, GLSL code, texture binding).
Sample code using canvas color matrix
val matrix = ColorMatrix().apply {
set(floatArrayOf(
1.2f, 0f, 0f, 0f, 0f, // boost red
0f, 0.7f, 0f, 0f, 0f, // dim green
0f, 0f, 0.7f, 0f, 0f, // dim blue
0f, 0f, 0f, 1f, 0f
))
}
val paint = Paint().apply { colorFilter = ColorMatrixColorFilter(matrix) }
canvas.drawBitmap(bitmap, 0f, 0f, paint)
With AGSL (Android 13+)
- Tech stack:
- Jetpack Compose + RuntimeShader + RenderEffect.
- Steps:
- Write AGSL shader string to manipulate pixel channels.
- Load with RuntimeShader.
- Apply with createRuntimeShaderEffect() in Compose.
- Advantages:
- GPU-accelerated.
- Supports highly custom, non-linear effects.
- Simple integration with Compose’s graphicsLayer.
- No OpenGL boilerplate.
AGSL is better because it brings GPU acceleration, flexibility for complex effects, and seamless Compose integration — all with just a few lines of shader code.
Pretty cool, right? Let’s level it up with another example—this time, we’re adding animation
Ripple Effect – Static Water Vibes
Generic Steps
- Define a shader with size and time uniforms.
- Normalize pixel coordinates.
- Calculate the distance from the center.
- Use the sine function to generate ripple displacement.
- Apply offset and render a distorted image.
@Language("AGSL")
private const val IMG_SHADER_SRC = """
   uniform float2 size;
   uniform float time;
   uniform shader composable;

   half4 main(float2 fragCoord) {
       float scale = 1 / size.x;
       float2 scaledCoord = fragCoord * scale;
       float2 center = size * 0.5 * scale;
       float dist = distance(scaledCoord, center);
       float2 dir = scaledCoord - center;
       float sin = sin(dist * 70 - time * 6.28);
       float2 offset = dir * sin;
       float2 textCoord = scaledCoord + offset / 30;
       return composable.eval(textCoord / scale);
   }
"""
Explanation
uniform float2 size;
- Receives the width and height of the target image.
uniform float time;
- Provides a time value to animate the ripple.
uniform shader composable;
- The source image or composable to apply the effect on.
float scale = 1 / size.x;
- Normalizes coordinates based on width.
float2 scaledCoord = fragCoord * scale; -Converts pixel coordinates to a normalized scale.
- float2 center = size _ 0.5 _ scale;
Computes the center of the image in normalized space.
- float dist = distance(scaledCoord, center);
Measures how far each pixel is from the center.
- float2 dir = scaledCoord - center;
Gets the direction vector from the center to the current pixel.
- float sin = sin(dist _ 70 - time _ 6.28);(you can change values as per requirements)
Generates a ripple wave using a sine function.
- float2 offset = dir * sin;
Calculates how much to displace the pixel.
- float2 textCoord = scaledCoord + offset / 30;
Applies the ripple offset to the coordinate.
- return composable.eval(textCoord / scale);
Samples and returns the final distorted color.
Let the magic happen!
Using AGSL
Nice! But what if I want to create a ripple effect that reacts to touch? 💭
Let’s level things up and explore how AGSL can be combined with touch input to create dynamic, interactive ripple effects
Interactive Ripple Effect – Static Water Vibes (Touched-based)
Generic Steps
- Capture tap position (center).
- Pass center and time as uniforms.
- Stack multiple sine waves for ripple layers.
- Compute displacement from ripple strength.
- Apply distortion + color highlights.
Shader code:
@Language("AGSL")
 val RIPPLE_SHADER_SRC = """
uniform shader image;
uniform float2 center;
uniform float time;
uniform float2 resolution;

half4 main(float2 fragCoord) {
   float2 uv = fragCoord / resolution;
   float2 pos = center / resolution;

   float dist = distance(uv, pos);

   // 10 wave layers with varying frequencies and amplitudes
   float wave1 = sin(dist * 10.0 - time * 8.0) * 1.0;
   float wave2 = sin(dist * 15.0 - time * 10.0) * 0.8;
   float wave3 = sin(dist * 20.0 - time * 12.0) * 0.6;
   float wave4 = sin(dist * 25.0 - time * 9.0) * 0.5;
   float wave5 = sin(dist * 30.0 - time * 11.0) * 0.4;
   float wave6 = sin(dist * 35.0 - time * 7.0) * 0.35;
   float wave7 = sin(dist * 40.0 - time * 13.0) * 0.3;
   float wave8 = sin(dist * 45.0 - time * 6.0) * 0.25;
   float wave9 = sin(dist * 50.0 - time * 14.0) * 0.2;
   float wave10 = sin(dist * 55.0 - time * 5.0) * 0.15;

   // Combine all waves
   float combinedWave = wave1 + wave2 + wave3 + wave4 + wave5 +
                       wave6 + wave7 + wave8 + wave9 + wave10;

   // Ripple strength with slower fade for more dramatic effect
   float rippleStrength = exp(-time * 1.0) * exp(-dist * 4.0);

   // Strong displacement for visible distortion
   float displacement = combinedWave * rippleStrength * 0.08;

   // Apply displacement
   float2 rippleOffset = normalize(uv - pos) * displacement * resolution;
   half4 color = image.eval(fragCoord + rippleOffset);

   // Multi-layered highlights with different colors
   float highlight1 = wave1 * rippleStrength * 0.6;
   float highlight2 = wave3 * rippleStrength * 0.4;
   float highlight3 = wave5 * rippleStrength * 0.3;

   // Add colorful highlights
   color.r += highlight1 * 0.9 + highlight2 * 0.3;
   color.g += highlight2 * 0.8 + highlight3 * 0.6;
   color.b += highlight3 * 1.0 + highlight1 * 0.4;

   // Add intense glow around ripple center
   float glow = exp(-dist * 6.0) * rippleStrength * 0.6;
   color.rgb += glow * vec3(0.8, 0.6, 1.0);

   // Add outer ring effect
   float ring = abs(sin(dist * 8.0 - time * 6.0)) * exp(-dist * 3.0) * rippleStrength * 0.4;
   color.rgb += ring * vec3(1.0, 0.7, 0.5);

   return color;
}

""".trimIndent()
What This Ripple Shader Does — At a Glance
- It uses a center value (in pixels) to know where the ripple should originate — usually from a user’s touch location. That point is normalized (center/resolution) so it can work on any screen size.
- For each pixel on the screen, it calculates how far it is from the ripple center using distance(uv, pos). This determines how the ripple wave should affect that pixel.
- It doesn’t use just one sine wave — it stacks 10 sine waves with different frequencies and amplitudes to create a richer, more natural ripple effect. Each wave simulates a ring of movement like ripples in water.
- The time uniform lets the ripple animate smoothly over time — so the ripple expands and fades as the time value increases (you’ll pass this in from Kotlin/Compose).
Compose code:
Box(
   modifier = Modifier
       .fillMaxSize()
       .pointerInput(Unit) {
           detectTapGestures { offset ->
               rippleCenter = offset
               rippleStart = System.currentTimeMillis()
               showRipple = true
           }
       },
   contentAlignment = Alignment.Center
) {
   Image(
       bitmap = photo.asImageBitmap(),
       modifier = Modifier
           .onSizeChanged { size ->
               shader.setFloatUniform("size", size.width.toFloat(), size.height.toFloat())
           }
           .graphicsLayer {
               if (showRipple) {
                   shader.setFloatUniform("time", timeMs)
                   shader.setFloatUniform("center", rippleCenter.x, rippleCenter.y)
                   renderEffect =
                       createRuntimeShaderEffect(shader, "composable")
                           .asComposeRenderEffect()
               } else {
                   renderEffect = null
               }
           },
       contentScale = ContentScale.FillBounds,
       contentDescription = null,
   )
}
- We start with a Box that fills the entire screen. This will act as the canvas for both the image and the ripple effect.
- We use pointerInput and detectTapGestures to detect when the user taps anywhere on the screen: offset gives us the X and Y position of the tap.
- We store it in rippleCenter so we can pass it to our shader.
- We also record the start time to animate the ripple over time.
- showRipple = true tells Compose to start applying the shader.
- timeMs is calculated using the difference between the current time and rippleStart.
- We set the “center” uniform to the touch position.
- The shader is applied using createRuntimeShaderEffect(…) and asComposeRenderEffect().
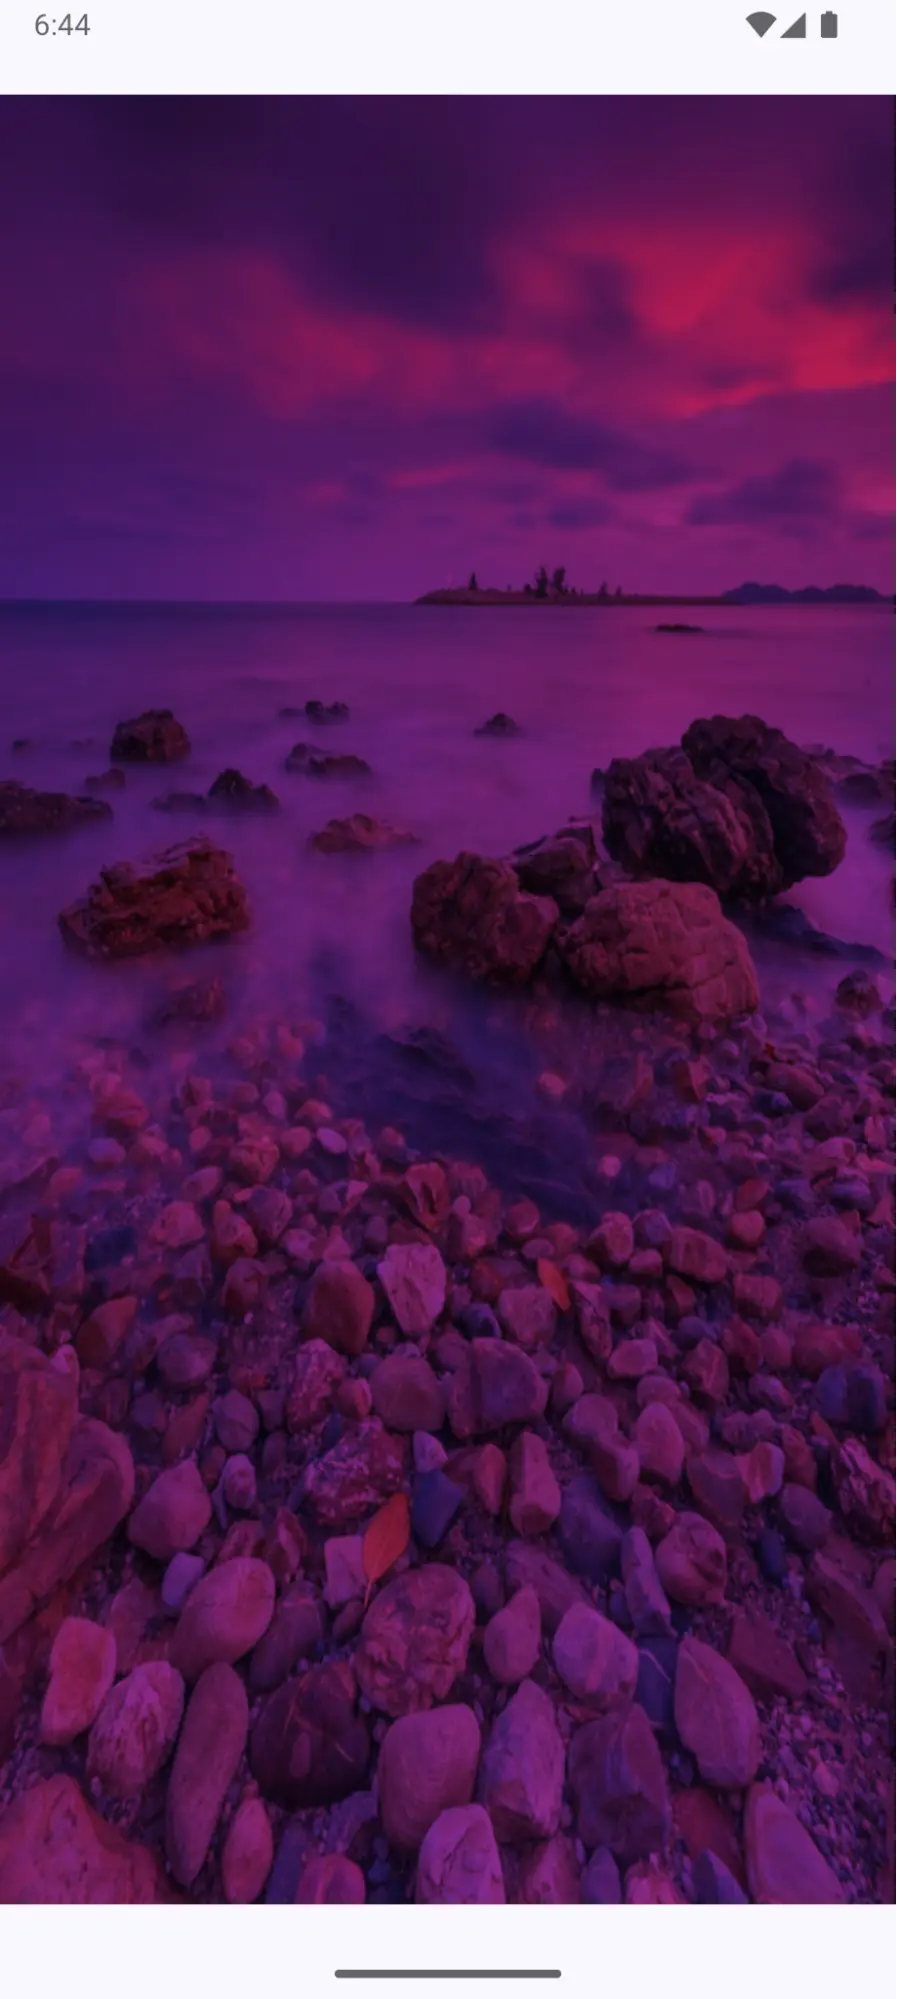
Result: Real-Time Ripple on Touch
- When the user taps the screen:
- The ripple shader kicks in.
- Waves radiate from the touch point.
- Colors glow, distort, and fade out smoothly — all GPU-accelerated.

Do it Yourself
- To make it visually appealing:
- It boosts the red, green, and blue channels differently across layers of waves.
- Adds a soft glow effect around the ripple center.
- Adds an outer ring highlight for extra drama.
Other Cool Uses of AGSL — Gradient Text & Glowing Buttons
Now that we’ve seen how AGSL can power touch-based ripple effects, let’s look at a couple more creative and practical use cases you can add to your UI to make it really pop!
1. Gradient Text Using AGSL
Who doesn’t love beautiful gradient-filled text? With AGSL, you can dynamically color your text with gradients — no bitmap hacks or static overlays needed.
Example use case:
- Hero headlines
- Loading screens
- Brand styling
2. Glow Effect on a Button (with Pulse Animation)
Want to highlight a button subtly, like a call-to-action (CTA) or a recording state? AGSL can be used to create a soft glow or pulse around the button.
Example use case:
- Record or live-stream buttons
- Notification prompts
- Floating action buttons (FABs)
Generic Steps for gradient text
- Pass text mask as a composable input.
- Define gradient (start → end colors).
- Optionally animate gradient shift with time.
- Combine the gradient with the text alpha.
Gradient Text Shader Code
@Language("AGSL")
val gradientTextShader = """
 uniform float2 resolution; // Text size
 uniform float time;        // Time for animation
 uniform shader composable; // Input composable (text mask)

 half4 main(float2 coord) {
    // Normalize coordinates to [0, 1]
    float2 uv = coord / resolution;

    // Hardcoded gradient colors
    half4 startColor = half4(1.0, 0.15, 0.15, 1.0); // Orange
    half4 endColor = half4(0.26, 0.65, 0.96, 1.0);  // Blue

    // Linear gradient from startColor to endColor
    half4 gradientColor = mix(startColor, endColor, uv.x);

    // Optional: Add a subtle animation (gradient shifting)
    float shift = 0.5 + 0.5 * sin(time * 2.0);
    gradientColor = mix(startColor, endColor, uv.x + shift * 0.1);

    // Use the alpha from the input composable mask
    half4 textAlpha = composable.eval(coord);

    // Combine the gradient color with the composable alpha
    return gradientColor * textAlpha.a;
 }
""".trimIndent()
Generic Steps for the glow button
- Define a rounded rectangle using SDF.
- Apply inner glow inside the button.
- Add outer glow layers fading with distance.
- Animate glow intensity with a sine wave.
Glow Button with Animation Shader Code
@Language("AGSL")
val glowButtonShader = """
 uniform shader button;
 uniform float2 size;
 uniform float cornerRadius;
 uniform float time;
 uniform float glowRadius;
 uniform float pulseSpeed;
 layout(color) uniform half4 glowColor;
 layout(color) uniform half4 innerGlowColor;

 // Signed Distance Function for a rounded rectangle
 float roundedRectSDF(float2 p, float2 b, float r) {
    float2 q = abs(p) - b + r;
    return min(max(q.x, q.y), 0.0) + length(max(q, 0.0)) - r;
 }

 half4 main(float2 coord) {
    // Convert to centered coordinates
    float2 uv = (coord - size * 0.5) / min(size.x, size.y);

    // Button dimensions (normalized)
    float2 buttonSize = float2(0.75, 0.55 * size.y / size.x);
    float radius = cornerRadius / min(size.x, size.y);

    // Calculate distance to button edge
    float dist = roundedRectSDF(uv, buttonSize, radius);

    // Get original button color
    half4 buttonColor = button.eval(coord);

    // Animated pulse effect
    float pulse = sin(time * pulseSpeed) * 0.5 + 0.5; // 0 to 1
    float strongPulse = sin(time * pulseSpeed * 0.7) * 0.3 + 0.7; // 0.4 to 1

    // Inside the button - add inner glow
    if (dist <= 0.0) {
        float innerGlow = exp(dist * 15.0) * 0.3 * strongPulse;
        half4 innerGlowEffect = innerGlowColor * innerGlow;
        return buttonColor + innerGlowEffect;
    }

    // Outside the button - create layered glow effect
    float pixelDist = dist * min(size.x, size.y);

    // Multiple glow layers for richness
    float glow1 = exp(-pixelDist / (glowRadius * 0.3)) * (0.8 + pulse * 0.4);
    float glow2 = exp(-pixelDist / (glowRadius * 0.6)) * (0.4 + pulse * 0.3);
    float glow3 = exp(-pixelDist / glowRadius) * (0.2 + pulse * 0.2);

    // Combine glows with different intensities
    float totalGlow = glow1 + glow2 * 0.7 + glow3 * 0.5;
    totalGlow = clamp(totalGlow, 0.0, 2.0);

    // Color mixing for neon effect
    half4 finalGlow = glowColor * totalGlow;

    // Add some saturation boost for neon look
    finalGlow.rgb = finalGlow.rgb * (1.0 + strongPulse * 0.5);

    return finalGlow;
 }
""".trimIndent()
Glow + pulse animation button
Conclusion
AGSL lets you unlock GPU shaders in Android apps without the pain of OpenGL or native code. With just a few lines, you can build live, animated, interactive visuals that wow users, and it fits right into your Kotlin + Compose workflow.
The Future of AGSL
AGSL is just getting started, but it’s already powerful for UI-level graphics. Expect:
- Better tooling in Android Studio
- Compose libraries with built-in effects
- Community sharing of reusable AGSL shaders
Further Reading
- AGSL Official Docs
- RenderEffect API
- ShaderToy – for prototyping your shaders
- Skia Docs